


Effective Techniques to Remove Burnt Residue from Your Stovetop
Posted on 21/08/2025
Effective Techniques to Remove Burnt Residue from Your Stovetop
Are you struggling with stubborn, burnt residue on your stovetop? Whether you have a glass, ceramic, or traditional gas stovetop, tackling tough, burnt-on messes can be a real challenge. Yet, an immaculate stovetop is critical not only for aesthetics but also for maintaining kitchen hygiene and ensuring safe food preparation. This comprehensive guide will take you through effective methods for removing burnt residue from your stovetop, expert tips for various stovetop surfaces, and best practices to prevent residue buildup in the future.
Understanding Burnt Residue and Its Impact
Before diving into cleaning techniques, let's explore what causes burnt residue and why it's crucial to remove it promptly:
- Burnt residue forms when food or liquids spill onto a hot surface and are allowed to remain and cook onto the stovetop.
- If left untreated, this residue turns into hard, stubborn crusts that can stain or even damage your stovetop's surface.
- Beyond visual appearance, burnt residue can harbor bacteria and impact the taste and safety of your meals.
Removing burnt residue from your stovetop as soon as possible prevents long-term damage and maintains your kitchen's cleanliness. The next sections will arm you with a set of proven cleaning techniques for every situation!

Main Techniques for Removing Burnt Residue from Stovetops
Here's a comprehensive look at varied techniques to clean burnt residue from different types of stovetops:
1. General Stovetop Cleaning Preparation
- Make sure your cooktop is completely cool before starting.
- Remove any removable burner grates or elements (for gas or electric ranges) to reach all affected areas.
- Wipe loose debris away with a soft, dry cloth.
2. Removing Burnt Residue from Glass and Ceramic Stovetops
Glass and ceramic stovetops require extra care to avoid scratches and maintain a glossy finish. Follow these steps for effective results:
- Mix a Cleaning Solution: Blend a few drops of dish soap with warm water or a mixture of equal parts vinegar and water.
- Soak a Microfiber Cloth: Saturate a clean microfiber cloth in the solution and lay it over the burnt area for 10-15 minutes to loosen hard residue.
- Use a Plastic Scraper: Gently scrape off softened residue at a 45-degree angle. Only use plastic or silicone to prevent scratches.
- Tackle Stubborn Spots: For persistent areas, sprinkle baking soda generously and add a few drops of water to form a paste. Let it sit for 15 minutes, then scrub lightly with the microfiber cloth.
- Rinse and Polish: Wipe away any residue with a clean, damp cloth. Buff dry with a soft towel to restore shine.
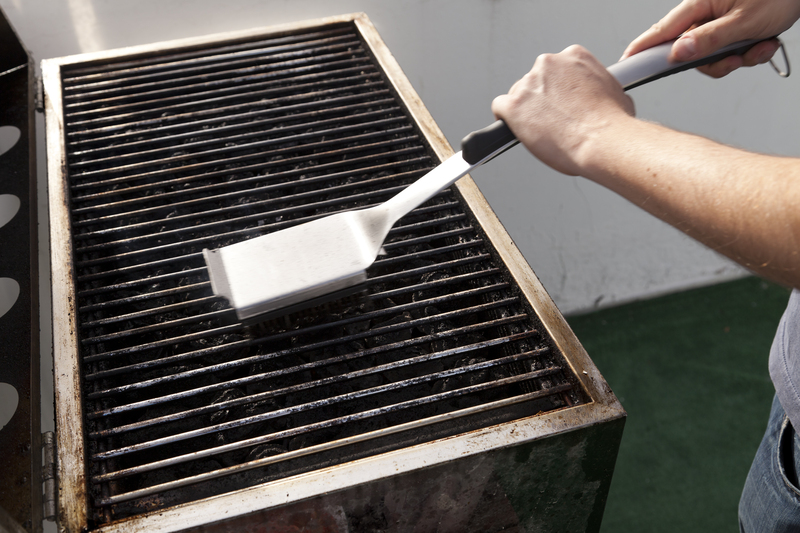
3. How to Remove Burnt Residue from Gas Stovetops
Gas stovetops have more components, including grates and burners, which also collect grime. Here's a robust approach for eliminating burnt-on messes from gas cooktops:
- Soak Grates and Burner Caps: Remove and soak them in hot, soapy water for 15-30 minutes. For heavy buildup, add a scoop of baking soda to the water.
- Scrub Thoroughly: Use a non-abrasive scrubbing brush or sponge to remove softened burnt residue. For stubborn stains, make a paste with baking soda and a little water, apply, and let it sit before scrubbing.
- Tackle the Stovetop Surface: Clean the main surface with warm, soapy water, a gentle degreaser, or a vinegar solution (equal parts white vinegar and water).
- Wipe Away Residue: Use a microfiber cloth or soft sponge. Avoid letting water seep into burner orifice holes.
- Dry and Reassemble: Allow all parts to air dry or towel dry completely to prevent rust before reassembling.
Pro tip: For persistent burnt rings around burners, you can use a toothbrush dipped in a mixture of dish soap and warm water for increased precision.
4. Dealing with Electric Coil Stovetops
For electric stoves with coil burners, burnt residue removal techniques are slightly different:
- Unplug the Stove: Safety first! Ensure electricity is disconnected.
- Remove and Soak Drip Pans: Soak in hot, soapy water with baking soda for 15-20 minutes, then scrub clean.
- Clean Burner Coils: Wipe burner coils with a damp cloth. Do not soak or submerge burners in water as this can cause damage.
- Clean Surface: Use a degreaser or a mixture of vinegar and water for the stovetop surface, wiping gently to avoid damaging the finish.
Natural and Non-Toxic Cleaning Agents
If you're seeking natural solutions to remove burnt residue from your stovetop, try these household staples:
- Baking Soda: The mild abrasiveness lifts burnt residue without scratching surfaces.
- White Vinegar: Dissolves grease, breaks down residue, and adds shine. It can also neutralize odors.
- Lemon Juice: The acidity cuts through burnt residue and leaves a fresh scent.
- Hydrogen Peroxide: Mixed with baking soda, it forms a powerful cleaning paste for stubborn spots (test on a small area first).
Note: Always check your stovetop manufacturer's instructions before using new cleaning solutions, especially on delicate or specialized surfaces.
Professional-Grade Burnt Residue Removal Methods
In cases of severe, burnt-on gunk that resists home remedies, it may be time to try stronger cleaning agents or seek professional help:
1. Use Commercial Degreasers
- Look for stovetop-specific commercial cleaners that are safe for your appliance's material.
- Always follow usage instructions and safety warnings closely.
- Open windows or ensure proper ventilation when working with chemical products.
2. Steam Cleaners
- Handheld steam cleaners are highly effective for loosening burnt residue with minimal scrubbing and no chemicals.
- Direct focused steam at the problem area and wipe clean.
3. Call a Professional
- For chronic burnt buildup that threatens to permanently damage your stovetop, consult cleaning professionals.
- They may use industrial equipment and professional-grade solvents to restore your cooktop safely.
How to Prevent Burnt Residue Buildup on Your Stovetop
Consistent care is the best way to prevent burnt residue from forming on your stovetop. Follow these practices to keep your kitchen shining:
- Wipe Spills Immediately: Clean up overspills right after the stovetop cools to prevent burning onto the surface.
- Use Pot Guards and Lids: These reduce splatter and keep food contained.
- Deep Clean Weekly: Schedule regular cleaning days to disrupt the development of tough residues.
- Use Appropriate Cookware: Flat-bottomed pots allow for even cooking and reduce boil-overs.
- Line Drip Pans: For electric and gas stoves, aluminum foil liners or reusable covers catch spills before they become a problem.
Frequently Asked Questions - Burnt Residue on Stovetops
Is it safe to use razor blades on burnt residue?
Razor blades can delicately remove thin, hard layers of burnt residue on glass surfaces when used very cautiously at a shallow angle. However, improper use risks scratches or cracks. Opt for specialty scrapers recommended by your stovetop's manufacturer and exercise patience.
How can I remove the burnt smell after cleaning?
Vinegar and lemon juice are both effective at neutralizing lingering odors from burnt food. Boil a pot of water with lemon slices or a few tablespoons of vinegar on your stovetop to freshen your kitchen's air.
How often should I deep clean my stovetop?
For best results, deep clean your stovetop once a week, or after significant spills. Incorporating a quick wipe-down after daily use will greatly minimize the formation of burnt residue.
Conclusion: Restore and Maintain a Spotless Stovetop
Removing burnt residue from your stovetop may seem daunting, but with the right approach, household supplies, and a little persistence, anyone can restore their cooktop to its original glory. Whether you're confronted with thick, crusty build-up or just a few scorched marks, employing the above methods -- from natural cleaning agents to careful scraping and good maintenance habits -- will keep your kitchen safe, healthy, and sparkling.
Remember: regular cleaning is your best defense against tough residue. Treat messes as soon as they occur and integrate a weekly deep-clean into your routine. Your efforts will pay off with an efficient, beautiful kitchen and stress-free cooking experiences every day!
If you've found this guide useful, share it with friends and family or bookmark it for your next cleaning day!
